 Configuring Single Sign-On (SSO)
Single Sign-On (SSO) enables users to sign in to Smartflow through a third-party authentication system such as Open Authorization 2.0 (OAUTH2) and Security Assertion Markup Language V2.0 (SAML2). You can configure more than one SSO connection in a Smartflow environment. Smartflow also uses ERES authenticate function for tasks operation authentication and authorization. For more information, see Configuring Electronic Signatures.
Users must be configured in Smartflow, and the user name must be the same as their IdP user name. To configure SSO in Smartflow, use the following procedure.
- Go to the Admin
 page.
page. - From Access Admin Function, select Loftware Setting > Authentication Settings, and then click Go.
- Click Add New Connection.
- For Type, select SAML2 or OAUTH2.
- For Name, enter a unique identifying name (without spaces) to display in Smartflow.
- Select the is Enabled check box to enable the authentication setting in Smartflow.
- For Login Label, enter a display name for the connection to be shown on the Smartflow Sign In page.
- For Connection Type, select Sign In.
- Next to Configuration File, click the Template button to download a configuration file template. Open the template file in a text editor.
- Enter values for the parameters in the configuration file, then save and close the file.
- authority: IdP authority URI (for example, Azure Active Directory is https://login.microsoftonline.com).
- tenant_domain: OAuth2 service domain (for example, loftware.com).
- tenant_id: Tenant ID in AAD.
- client_id: Registered application ID for Smartflow in AAD.
- secret_key: Client secret key of registered application for Smartflow.
- user_info_uri: IdP user info URI, can be found in IdP document in most cases (for example, Azure Active Directory is https://graph.microsoft.com/v1.0/me ).
- redirect_uri: Smartflow redirect URI, it is Smartflow visit URL (for example, https://www.gapsystems.cn).
- scope: User access scope (for example, Azure Active Directory is User.Read, Keycloak is profile).
- authorization_suffix: Authorization URI suffix, normally it is rest URI part of authorization URI after tenant domain (for example, Azure Active Directory is /oauth2/v2.0/authorize).
- token_suffix: Token URI suffix, typically it is rest URI part of authorization URI after tenant domain (for example, Azure Active Directory is /oauth2/v2.0/token).
- onelogin.saml2.sp.entityid: Application ID of Smartflow registered at IdP.
- onelogin.saml2.sp.assertion_consumer_service.url: [Smartflow visit URL]/service/saml/acs/[Authentication Setting Name]
- onelogin.saml2.idp.entityid: Entity ID in IdP meta data.
- onelogin.saml2.idp.single_sign_on_service.url: SingleSignOnService location URL in IdP meta data.
- onelogin.saml2.idp.single_logout_service.url: SingleLogoutService location URL in IdP meta data.
- onelogin.saml2.idp.x509cert: KeyDescriptor use="encryption" X509Certificate in IdP meta data.
- Next to Configuration File, click the Upload button and select your modified configuration file.
- Click Confirm.
- Go to Admin > User & Company > Add/Edit User and do the following for each external user
 Users that are authenticated by SSO using SAML2 or OAUTH2. and external directory user Users that are authenticated by SSO using OATH2 and their permissions are managed using a Directory Service.. For more information, see Create a Smartflow User.
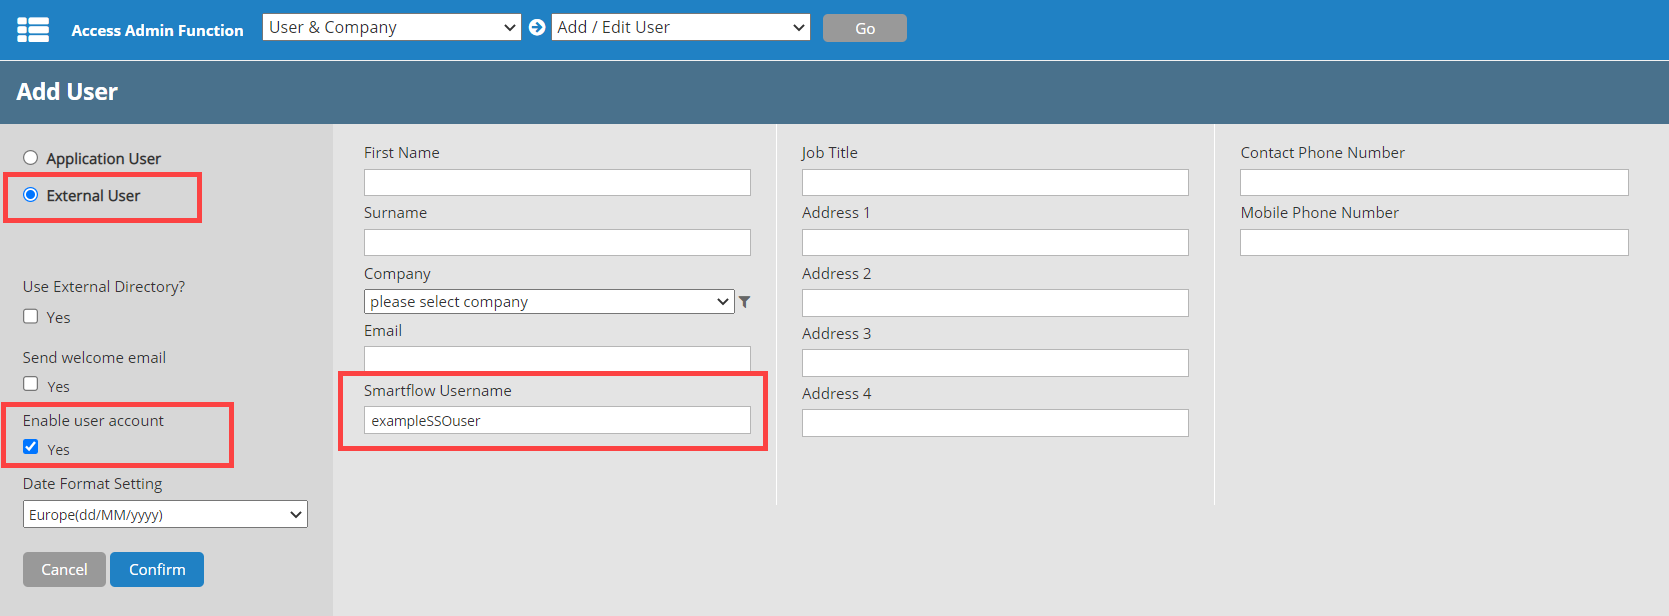
- Make sure the Smartflow Username is the same as their IdP user name.
- Select the External User option.
- Select the Enable user account check box.
- Click Confirm.